How to Research the History of Your Local Manor House: A Beginner's Guide
October 08, 2026 - Manor History

October 06, 2026 - Country Estates
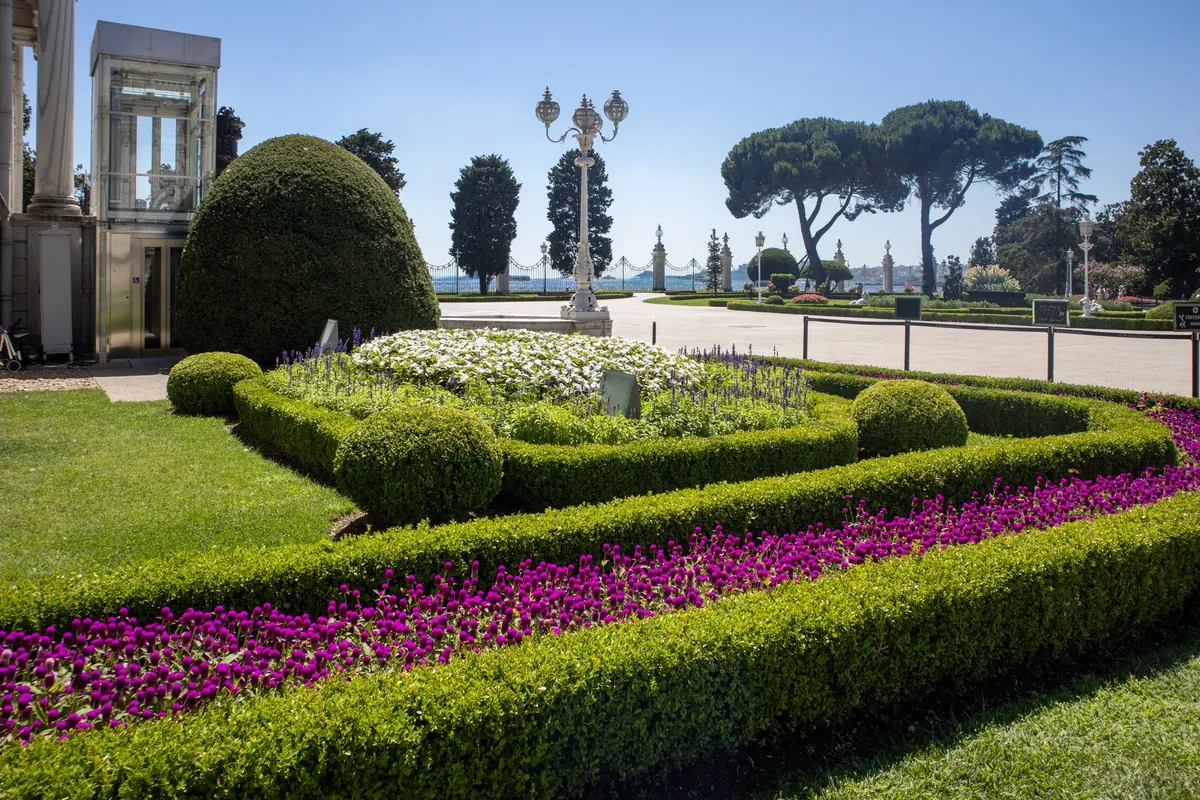
A knot garden is the most architectural thing you can do with a small piece of ground. Lines of clipped evergreen curl and interlace like the threads of an embroidered pattern, and the design reads as clearly in February as it does in July. The Tudor and Elizabethan gardeners who popularised the form worked with germander, hyssop, santolina and thyme — plants that could be clipped twice a year and persuaded into ribbons.
You can set out a simple knot in a weekend and plant it in an afternoon, though it will take two or three seasons to look properly knitted. What follows is the order that saves the most rework: design, site, plant choice, setting out, planting, gravel, then the annual routine that keeps the lines sharp.
A knot is geometry first. The classic layouts are an open square with corner loops, a diamond set inside a square, interlocking circles, and the so-called true lover's knot, which is really two interlaced loops. Symmetry is what makes it read as a knot rather than a scribble. If one corner is a hand's width out, the eye finds it from across the lawn.
Draw the plan on graph paper and give it a module — one square equals 30cm, for example — so you can scale it to the site later. A few rules keep a design legible:
Most knot plants want sun, and box will take light shade, so aim for six hours of daylight if you can. Shelter matters more than people expect: drying wind scorches clipped evergreens and browns the edges. Avoid hollows that hold water — box in particular sulks in waterlogged ground.
Think about the view. A knot garden is best read from above, so a terrace, a first-floor window or a raised path along one side flatters it enormously. If you have none of those, orient the pattern to be seen from the main approach and keep the detail on the near side.
Dwarf box, Buxus sempervirens 'Suffruticosa', is the traditional choice: slow, dense and tolerant of hard clipping. Be aware that box blight and box tree moth are now widespread in many regions, so check what is happening in gardens near you and ask a local nursery before committing a whole design to it.
Where box is risky, small-leaved holly, yew, Japanese spindle and germander can all be clipped into lines. Yew is slower to establish and grows broader, so widen your bands. Aromatic herbs such as santolina, lavender, hyssop and winter savory suit the inner compartments, but they are short-lived and resent wet winters — treat them as replaceable rather than structural.
Buy one cultivar from one supplier and keep the plants the same size, so the hedge knits evenly. As a rough guide, dwarf box at 15–20cm spacing needs five to seven plants per metre of line. Count your metres twice; the plant bill is the largest cost in the project.
Clear the ground properly first. Perennial weeds such as couch, bindweed and ground elder will thread up through a clipped hedge and there is no tidy way to remove them afterwards. Dig the bed over, work in well-rotted compost, firm it and rake it level, then let it settle for a week or two before planting.
Cut a shallow trench along each marked line with a spade, about 15cm deep, and set the plants at the same depth they sat in their pots. Firm them in with your knuckles, water thoroughly, and mulch the compartments — keeping mulch clear of the stems.
Autumn is the best planting window, with early spring a close second. Avoid frozen or sodden soil. For the first two summers, water the new hedge properly in dry spells; a soaker hose laid along the lines is far easier than carrying cans, and it keeps you from overwatering one end and neglecting the other.
For paths, excavate 8–10cm, compact the base, lay a weed-suppressing membrane and top with washed gravel in the 10–20mm range. A self-binding gravel gives a firmer surface underfoot if the knot sits on a main route. Keep the gravel a couple of centimetres below the soil level of the beds so it stays where you put it.
An edge of steel, brick or stone between gravel and soil stops the lines fraying. For the compartments themselves you have two good options: contrasting coloured gravel, which is crisp and almost maintenance-free, or low planting such as thymes, santolina and lavender. Whatever you choose, keep it well below the height of the hedge so the pattern still reads.
Trim dwarf box twice a year, in late May or early June and again in late August or early September. Use sharp shears and cut to a taut string line along the straights. Avoid trimming in strong sun or during frost. Aim for a very slight batter — a fraction wider at the base than the top — so light reaches the lower leaves and the hedge does not go bare at the foot.
Feed lightly in spring, but go easy on nitrogen, which produces soft growth that ruins a crisp edge. Clear clippings and fallen leaves from the crowns of the plants, since debris against wet foliage encourages disease, and clean your tools between plants if blight is about.
Gravel needs a fortnightly pass with a hoe on a dry day, or careful hand weeding, because every seed that lands in it will germinate. Replace any dead plant promptly. A single gap in a hedge line undoes more of the design than a season of uneven trimming.
Start with one square knot of about two metres — enough to learn the whole process without committing a large budget. Expect the hedge to close into continuous lines after two or three seasons, and to look genuinely sharp after four. Keep the original plan in a folder with the planting date and the cultivar names; you will want it when a section needs replanting. And if box blight is active where you garden, take advice from a local nursery before you buy, because the right plant choice now saves a great deal of heartache later.
Photo: Zülfü Demir📸 / Pexels

Trace the story of a local manor house using building clues, maps, deeds and manorial records — a practical...
Buying a historic manor is a long game. These five common mistakes — from hidden maintenance bills to land-use...
October 06, 2026 - Country Estates
Copyright © 2026 The Manor Chronicle. All Right Reserved.